Replacing a window without removing siding is a practical and cost-effective way to upgrade your home’s efficiency and appearance. Whether you’re replacing an old window for better insulation or aesthetic reasons, learning how to replace a window without removing the siding ensures minimal disruption to your home’s exterior. In this guide, we’ll walk you through the step-by-step process of retrofitting a window without affecting your siding.
Why Replace a Window Without Removing Siding?
Replacing a window while keeping the siding intact has several benefits:
- Preserve Curb Appeal: Avoid disturbing materials like vinyl, stucco, or wood.
- Save Time and Money: Retrofit installations eliminate labor-intensive siding removal.
- Improve Energy Efficiency: Modern windows enhance insulation and reduce drafts.
If you’re considering upgrading your basement windows as part of your home improvement project, check out this guide on choosing the right basement replacement windows.
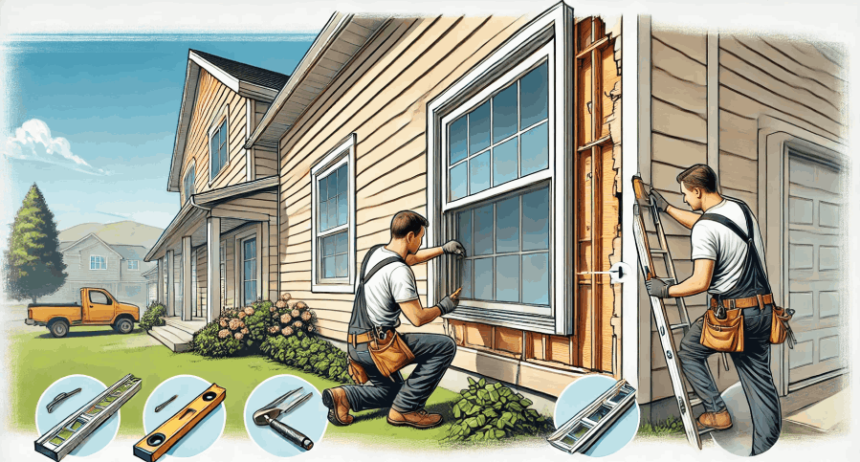
Tools and Materials Needed
Before you start, gather these essential tools and materials:
Tools:
- Pry bar – Remove trim and old window
- Utility knife – Trim siding if necessary
- Tape measure & level – Ensure proper alignment
- Hammer, nails, or screws – Secure the new window
- Reciprocating saw (optional) – Cut stubborn materials
- Safety goggles & gloves – Protect against debris
Materials:
- Retrofit window – Vinyl or fiberglass recommended
- Urethane sealant or caulk – For waterproofing
- Trim boards – If reattaching siding
Once your new window is installed, keeping it clean and streak-free is important. Learn more about residential window cleaning tips to maintain visibility and energy efficiency.
Step-by-Step Process for How to Replace a Window Without Removing the Siding

1. Assess the Existing Window and Siding
- Check the window frame for stability. Retrofitting works best if the frame is intact.
- Inspect the siding for cracks or brittleness. If damaged, consider partial replacement.
2. Prepare the Opening
- Cut back siding: Use a utility knife or pry bar to trim two to three inches around the window.
- Remove the old window:
- Pry off interior trim and exterior stops.
- Unscrew or remove the old sash carefully to avoid siding damage.
3. Install the New Window
- Insert the retrofit window: Slide the new unit into the existing frame. Retrofit windows fit snugly without requiring siding removal.
- Secure and level the window: Fasten the window using screws and confirm alignment with a level.
- For stucco or masonry homes: Use Z-bar or block frame methods to ensure proper attachment.
4. Seal and Insulate
- Apply urethane sealant around the window edges to prevent water infiltration.
- Use flashing systems (such as Rain Jacket Flashing) for added leak protection.
5. Reattach Siding and Trim
- Trim excess siding if necessary and reattach around the window using a nail gun.
- Cover gaps with trim boards and seal all joints with a weatherproof membrane.
Special Considerations
- Choose the right window type: Vinyl or fiberglass retrofit windows are ideal for durability.
- Consider a full-frame replacement: If the existing frame is damaged, partial siding removal may be necessary.
Safety and Maintenance Tips
- Wear protective gear: Safety goggles and gloves are essential.
- Inspect annually: Check seals and siding for water damage to maintain energy efficiency.
If you’ve noticed old tint on your window that needs to be removed before installation, read this guide on how to remove tint from car windows for tips that also apply to residential windows.
When to Call a Professional
Although this is a DIY-friendly project, consider hiring a professional if:
- The siding is extensively damaged or outdated.
- You are working with stucco, masonry, or brick exteriors.
For homeowners looking to make informed decisions, Home Revista offers expert insights, smart strategies, and top industry partnerships to help you build smarter. Join our 47M+ audience and turn your home improvement dreams into reality today!
Frequently Asked Questions (FAQs)
How much does it cost to replace a window without removing siding?
Costs vary based on window type and size. A typical retrofit window installation ranges from $300 to $2100 per window, including materials.
Can I replace a window myself, or should I hire a professional?
Yes, you can replace a window yourself if you have the right tools and follow the proper steps. However, consulting a professional is recommended for complex siding materials.
How long does the process take?
For experienced DIYers, replacing a window without removing siding takes two to four hours per window. A professional can complete the job faster.
What are the best retrofit windows for this method?
Vinyl and fiberglass windows are the most popular choices due to their durability and energy efficiency. Look for ENERGY STAR-rated options for the best insulation.
Final Thoughts
Now that you know how to replace a window without removing the siding, you can confidently tackle this home improvement project. Proper installation and sealing will enhance your home’s energy efficiency while keeping its exterior intact.
Have questions? Share them in the comments below. Need a visual guide? Watch our step-by-step video tutorial here.