Packing for a move isn’t just about putting items in boxes—it’s about organization, strategy, and protecting what you own. A poorly executed packing process can lead to chaos on moving day, broken belongings, or difficulty finding essential items when you arrive. According to studies, nearly 45% of movers encounter damaged items or delays during their move due to poor packing practices.
So, how do you pack for a local move in a way that’s fast, efficient, and damage-free?
First, it’s important to understand the nature of your move. If you’re wondering what is considered a local move, it typically refers to relocations within a 50-mile radius, often in the same city or metropolitan area. With that in mind, this comprehensive guide will walk you through actionable tips and expert strategies to ensure your move is a success.
How to Pack for a Local Move?
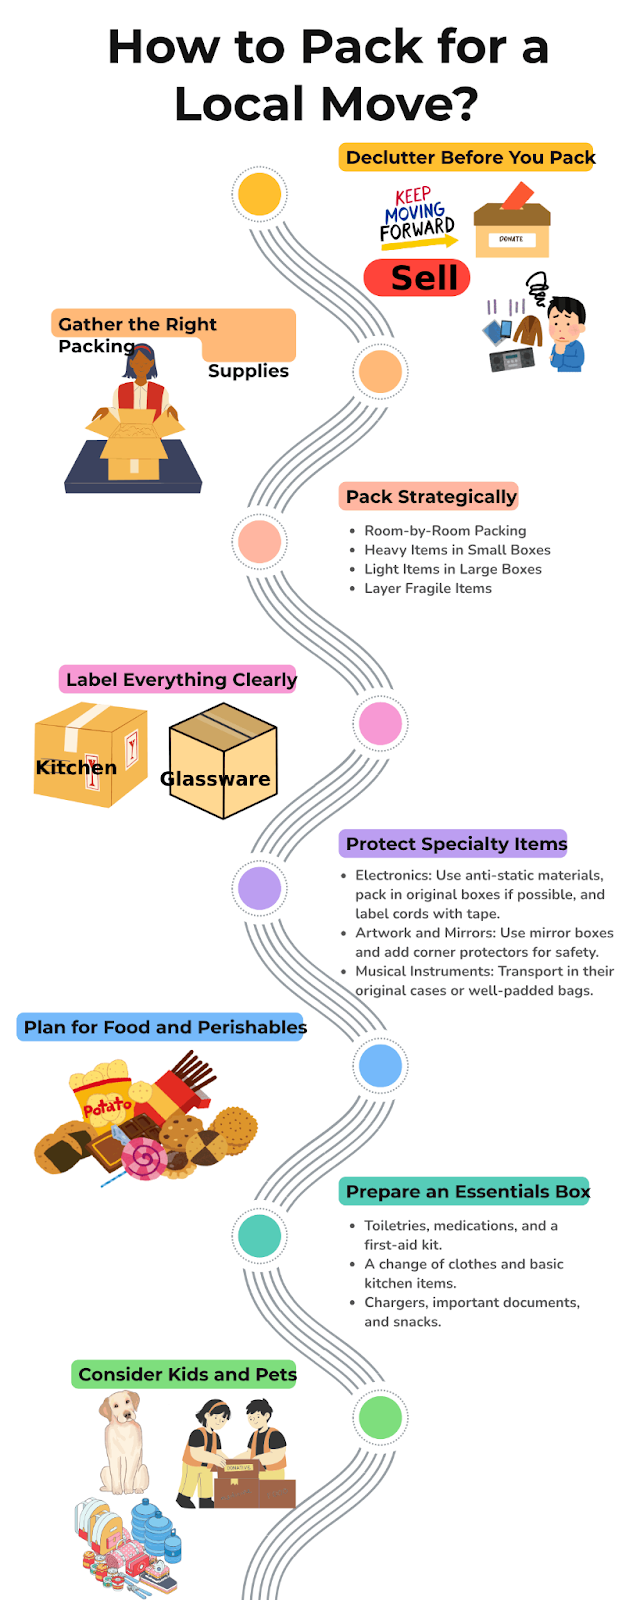
Step 1: Declutter Before You Pack
Moving is the perfect opportunity to streamline your belongings. Fewer items mean less to pack, transport, and unpack, saving time and money.
- Decluttering Tips:
- Go room by room and divide items into categories: “Keep,” “Donate,” “Sell,” and “Discard.”
- Donate gently used clothes, furniture, or household items to local charities.
- Sell valuables online via platforms like Craigslist or Facebook Marketplace to offset moving costs.
- Schedule a junk removal service for discarded items.
Why It Matters: Decluttering can reduce moving costs by up to 20%, according to moving industry estimates.
Step 2: Gather the Right Packing Supplies
The right supplies are essential for protecting your belongings during transport. Eco-friendly options not only save money but also reduce environmental impact.
- Packing Essentials:
- Boxes: Use sturdy cardboard boxes or reusable plastic bins.
- Packing Materials: Bubble wrap, packing paper, towels, and blankets.
- Tape and Markers: High-quality tape to seal boxes securely and markers for clear labeling.
- Pro Tip: Many local stores give away free boxes—check with grocery stores or online community groups like Freecycle.
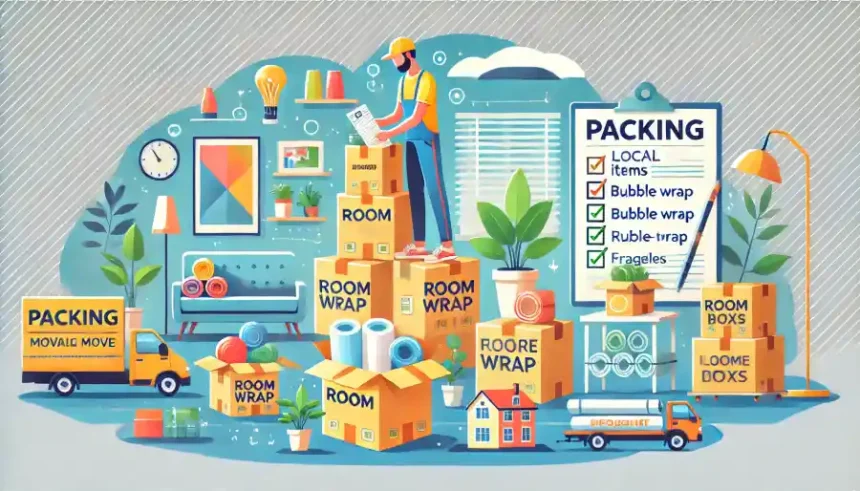
Step 3: Pack Strategically
Packing isn’t just about fitting items into boxes; it’s about maximizing space and minimizing damage.
- Room-by-Room Packing: Focus on one room at a time to avoid confusion. Clearly label boxes with their contents and room destinations.
- Heavy Items in Small Boxes: Prevent strain and box breakage by packing books, dishes, and other heavy items in small boxes.
- Light Items in Large Boxes: Use larger boxes for lightweight items like pillows, linens, or clothing.
- Layer Fragile Items: Line the bottom of boxes with towels or bubble wrap, place delicate items inside, and fill gaps with crumpled paper to prevent movement.
Step 4: Label Everything Clearly
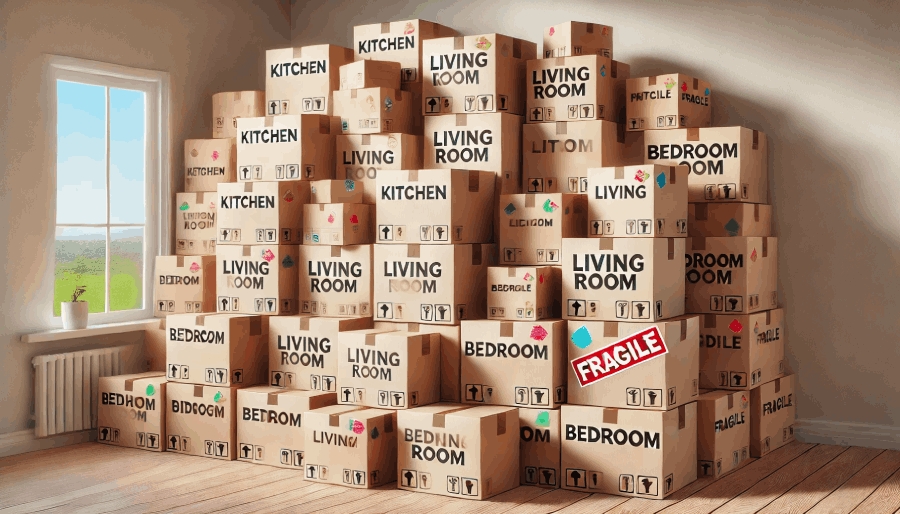
A well-labeled box is a lifesaver on moving day.
- How to Label:
- Write the room and contents on the box (e.g., “Kitchen: Glassware”).
- Use color-coded stickers for each room to streamline unpacking.
- Mark boxes with “Fragile” or “This Side Up” for delicate items.
Why It Matters: Clear labeling ensures movers handle boxes appropriately and makes unpacking faster.
Step 5: Protect Specialty Items
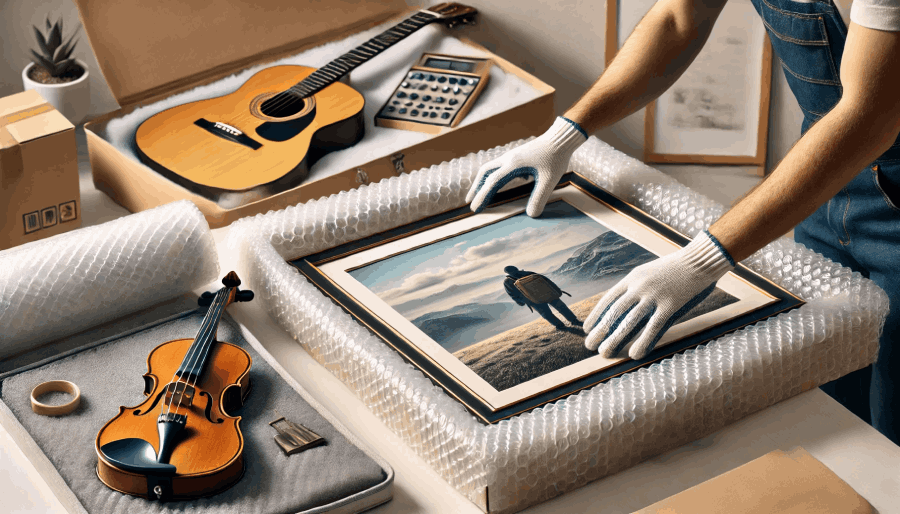
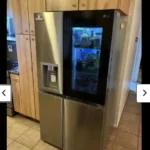
Items like artwork, electronics, and furniture need extra care to avoid damage during transit.
- Electronics: Use anti-static materials, pack in original boxes if possible, and label cords with tape.
- Artwork and Mirrors: Use mirror boxes and add corner protectors for safety.
- Musical Instruments: Transport in their original cases or well-padded bags.
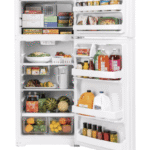
Step 6: Plan for Food and Perishables
Packing food can be tricky, especially for short moves.
- What to Do:
- Use up perishables in the days leading to the move.
- Pack a cooler with ice packs for items that must stay cold.
- Donate unopened non-perishables to food banks instead of moving them.
Step 7: Prepare an Essentials Box
An essentials box ensures you have immediate access to necessities during and after the move.
- What to Include:
- Toiletries, medications, and a first-aid kit.
- A change of clothes and basic kitchen items.
- Chargers, important documents, and snacks.
Pro Tip: Pack this box last and keep it with you during the move.
Step 8: Consider Kids and Pets
Moving with children or pets requires special planning.
- For Kids:
- Pack a small bag with toys, snacks, and comfort items.
- Assign them age-appropriate tasks like packing their favorite toys.
- For Pets:
- Prepare a travel kit with food, water, and medication.
- Keep pets in a quiet, secure space during the move to reduce stress.
Step 9: Organize Post-Move Unpacking
Once you arrive at your new home, an organized unpacking process is key.
- Unpack Essentials First: Start with the kitchen, bathroom, and essentials box.
- Create a Timeline: Set goals for unpacking room by room.
- Establish Storage Systems: Avoid clutter by setting up storage solutions as you unpack.
Conclusion
Packing for a local move doesn’t have to be stressful. By decluttering, organizing your packing materials, and protecting fragile and specialty items, you can make your move smooth and efficient. Remember to label everything clearly, prepare an essentials box, and plan for unpacking to save time and energy in your new home.
Are you ready to make your local move hassle-free? Share your moving tips or ask questions in the comments below. For more moving advice, check out our related guides on packing strategies and moving checklists.
FAQs About Packing for a Local Move
How early should I start packing?
Begin packing non-essential items 2-3 weeks before your move. Leave essentials for the last few days.
Should I hire professional movers?
For large or valuable items, hiring movers can save time and prevent damage.